In the last tutorial, we have learned how to install Git on Windows operating system. Now we will learn how to install Git on Mac operating system from Apple.
Table of Contents
How to Install Git on Mac Operating System
Installing git on Mac Operating System is fairly simple.
We can either choose to install Git via downloading the installer package from Git’s official website or through an external package manager for MacOS called as “brew”.
We will discuss both the methods over here.
1. Installing git from the package installer
I.) Open the below URL
https://git-scm.com/download/mac

and download the installer package.
The name of an installer package may look like this git-2.XX.X-intel-universal-mavericks.dmg
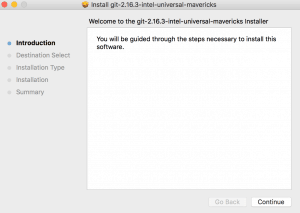
Once downloaded, go through the installation process.

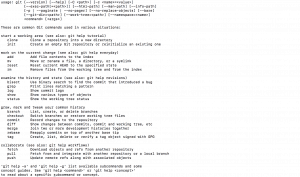
Once the installation is done, fire up a Terminal, type git and press enter.

If installation has been done successfully, you will see a list of several commands that git throws to you.
2. Installation with the help of MacOs’ un-official package manager. (recommended)
I.) Install HomeBrew– HomeBrew is nothing but a package manager which simplifies installation on Mac Operating System.
In order to install HomeBrew, Open up a “terminal” and paste the below command.
$ /usr/bin/ruby -e "$(curl -fsSL https://raw.githubusercontent.com/Homebrew/install/master/install)"
You may be offered to install Command Line Developer Tools, Click on Install to confirm it.
II.) Once, the brew is installed successfully, type in the below command to install git.
$ brew install git
The installation will take a minute or two, after which the installation of Git will be completed.
Again to check the successful Installation,
Fire up a terminal, type git and press enter if you are shown a list of available commands by git, You have successfully installed Git.
Conclusion
In this tutorial, we have learned how to install Git on Mac operating system. Next tutorial will be how to install Git on Linux operating system.