About Java 11
It is advised to use Java 11 JDK which is a latest version of Java development kit in 2018. JDK helps you to compile Java programs and run your Java program using Java Virtual machine (JVM). You need Java development kit (JDK) to write Java programs.
Oracle is now the owner of Java and they started charging for Java. Students and programmers actually don’t need to pay anything to use Oracle’s version Java. Now Oracle have moved to LTS model (Long Term Support) where they will support a particular version of Java for a long time but other versions will expire and no longer be supported by Oracle.
Java 9 or Java 10 are no longer supported by Oracle. So we should not use any version of Java lower than 11. Java 11 is the version of Java which Oracle has put in long-term support (LTS) and will support for many years.
New features in Java comes every 6 months. For example Java 12 will come during March 2019 and Java 13 will come in September 2019. These are feature versions so will get expire after six months after their release date.
Companies which work in Java are standardizing Java 11 and we should also start working on Java 11.
Installing Java 11
How to install Java? Java can run in Windows, Mac and Linux machines. Below are the steps to download Java 11 JDK. Java 11 download steps are:
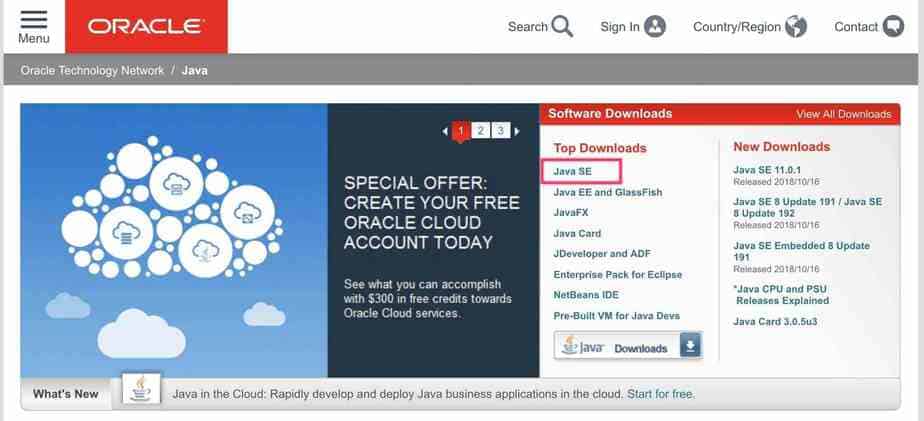
Step 1: Open https://java.sun.com and you will be redirected to https://www.oracle.com/technetwork/java/index.html then click on Java SE. Java SE stands for Java Standard Edition. Below is the location to find Java SE
Step 2: Now the new page will open and will show you Java SE 11.0.1(LTS) to download. Here LTS means long-term support. Click to Download java 11.
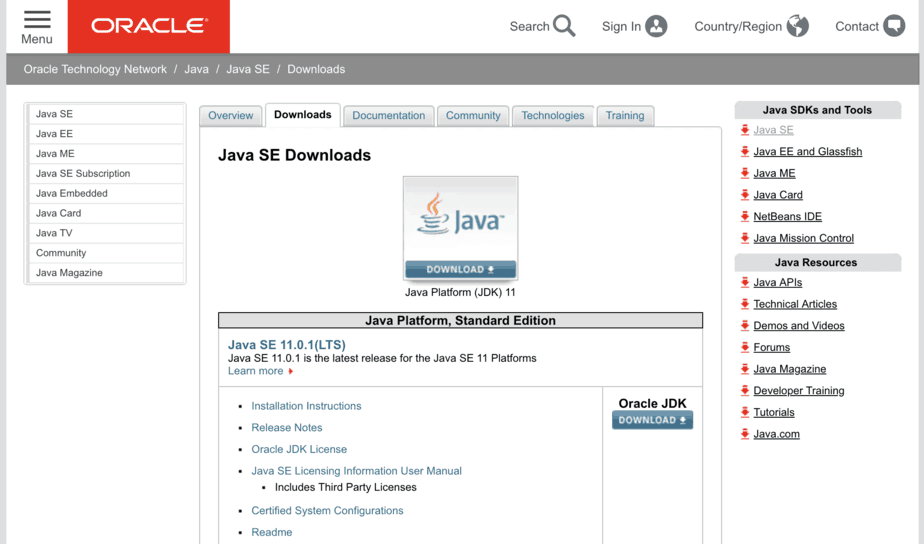
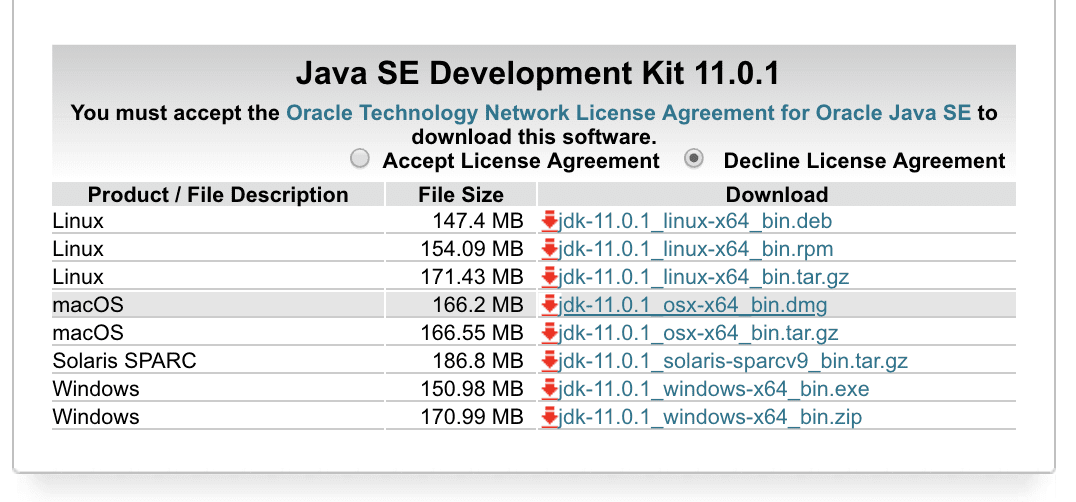
Step 3: Now click on Download button to download Java SE. On clicking Download a new page will open which will show the license and the list of download types based on the operating system you want to download and install Java.
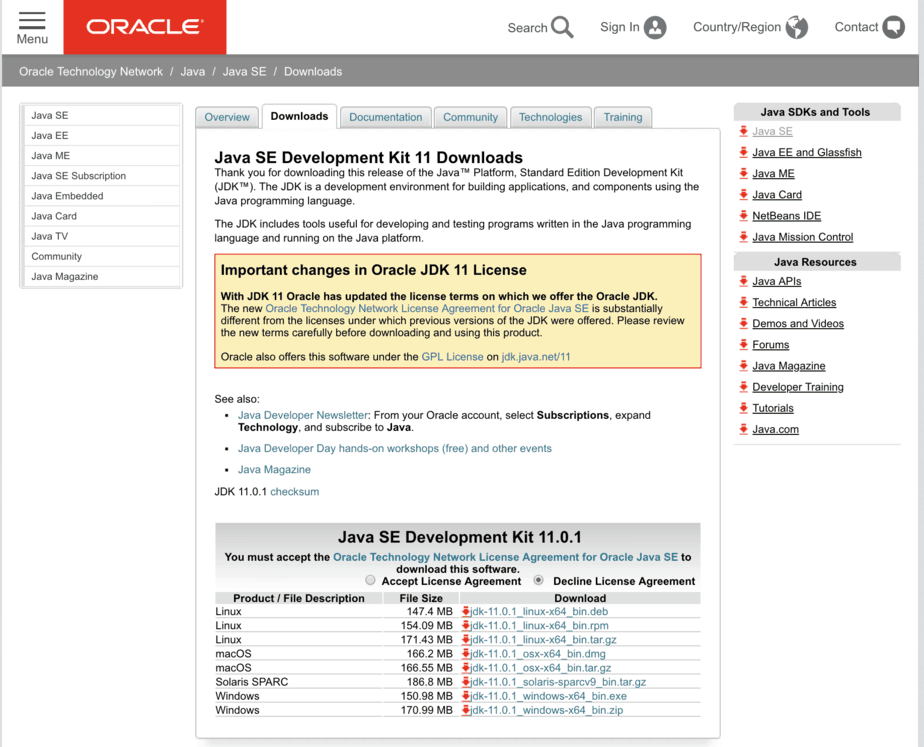
Step 4: Click on the download link based on the operating system you are using. Click to install java. After download is completed, execute the installer to install Java in your machine.
How to install Java 11 on Mac
From the download page Accept License Agreement and then click on the link jdk-11.0.1_osx-x64_bin.dmg for downloading the installer for macOS. This will start downloading the dmg file.
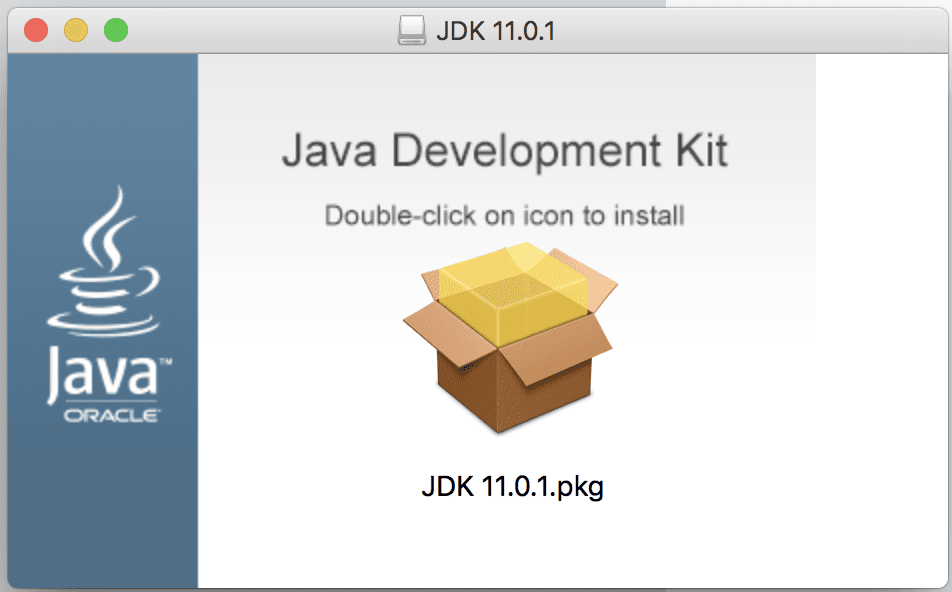
Click on the download file and start executing it. You will be asked to double click on the JDK 11.0.1.pkg icon to start the installation of latest Java 11 SDK.
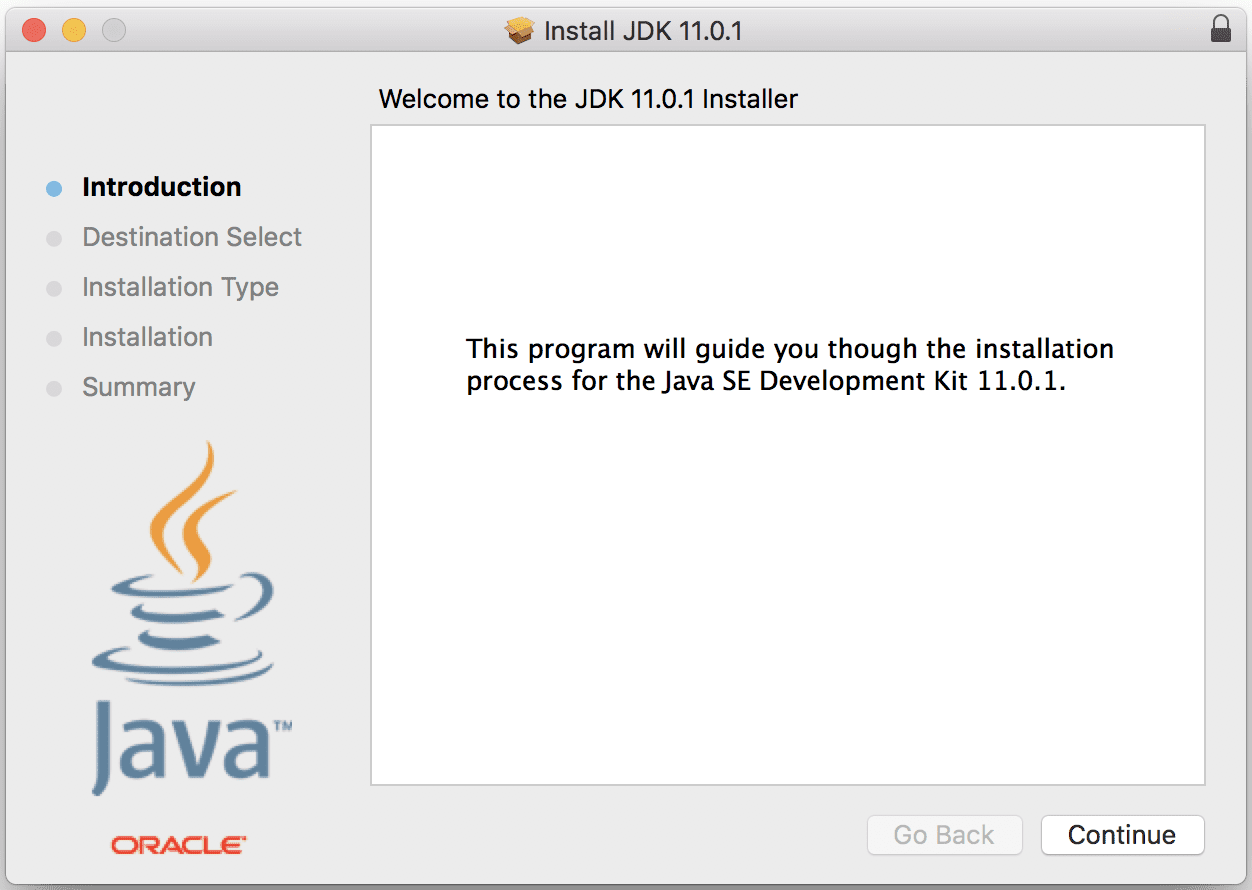
On double clicking the JDK 11.0.1.pkg you will see below welcome page of the installer. Click on Continue button to move to next screen.
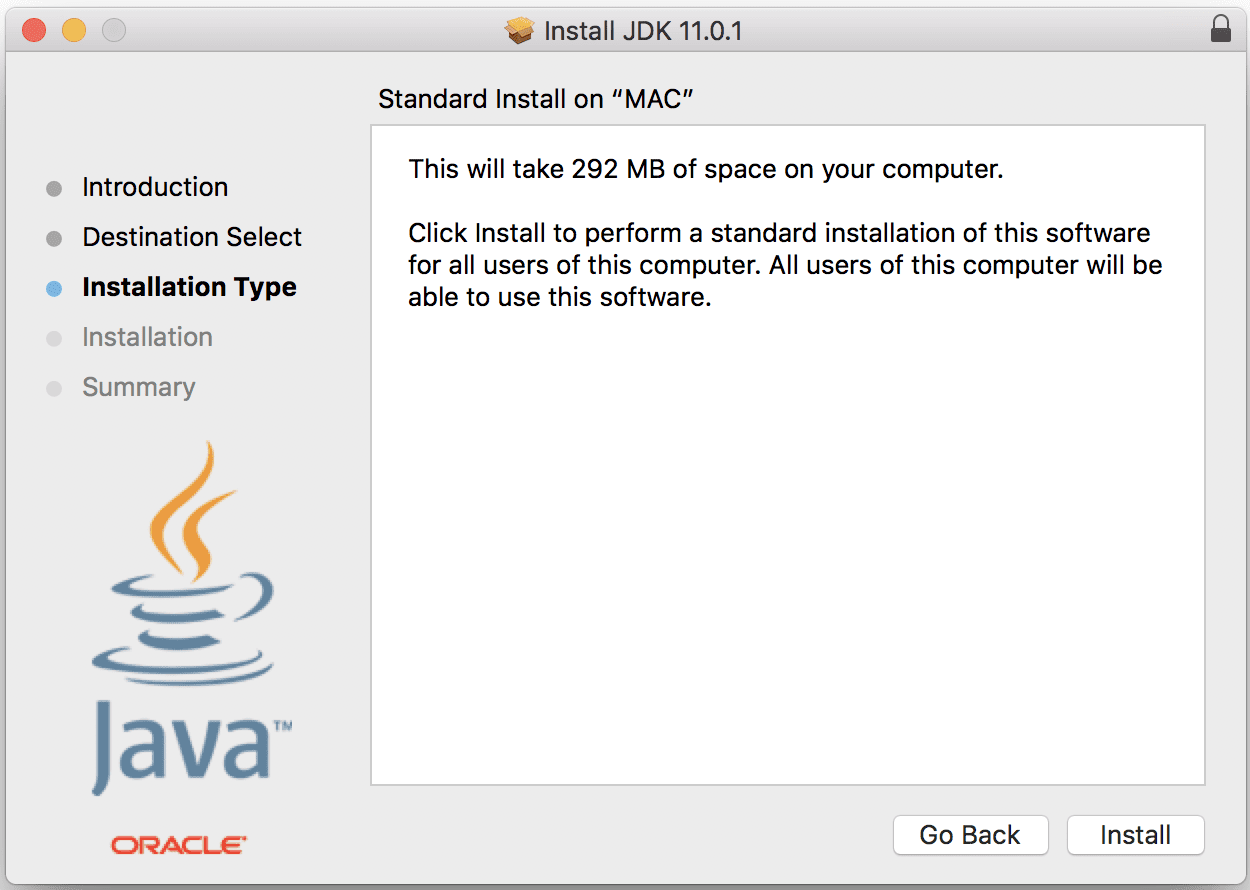
Now you will see a page which will tell you how much space the installation will take on your MAC. Click on Install to proceed to next step.
On clicking the Install button you will see below screen after the installation is completed. Click on the Close button to close the window.
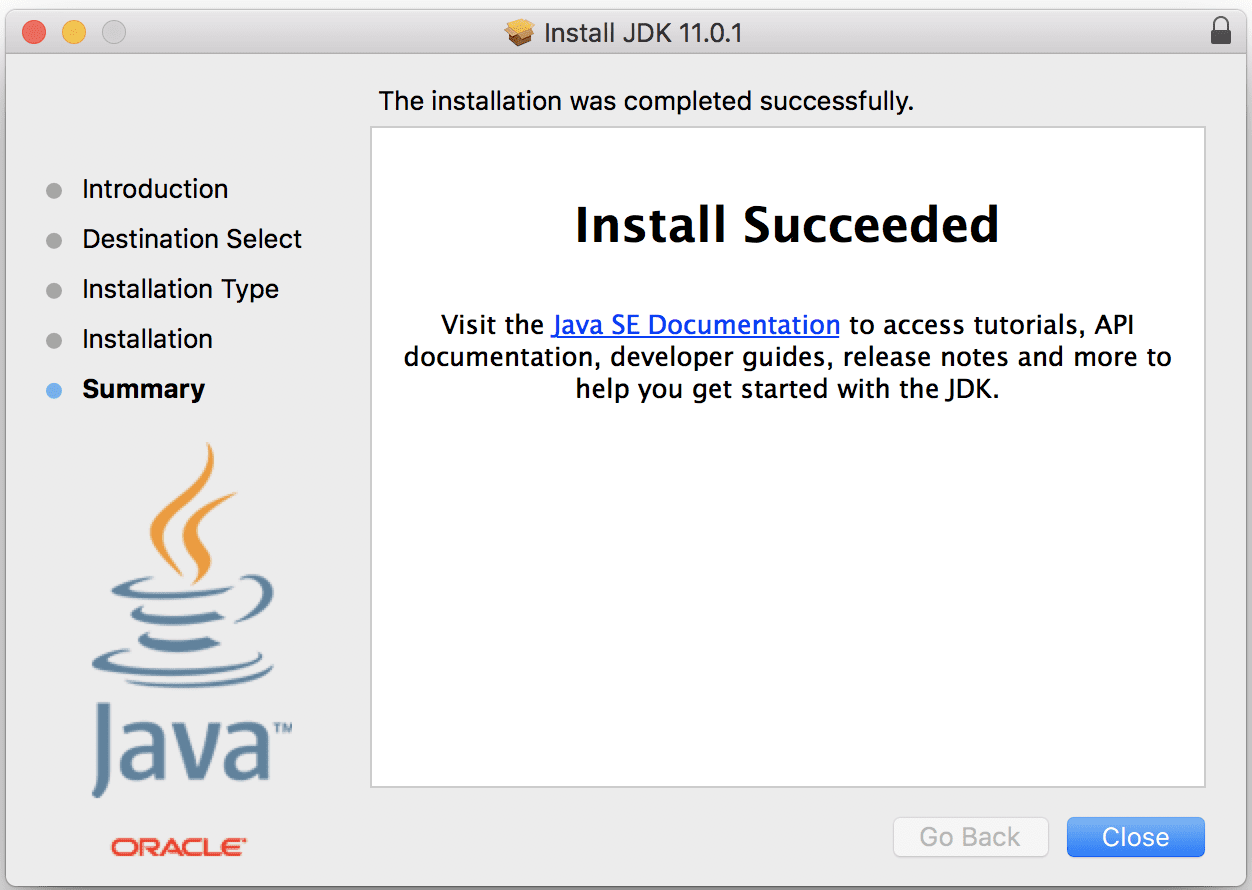
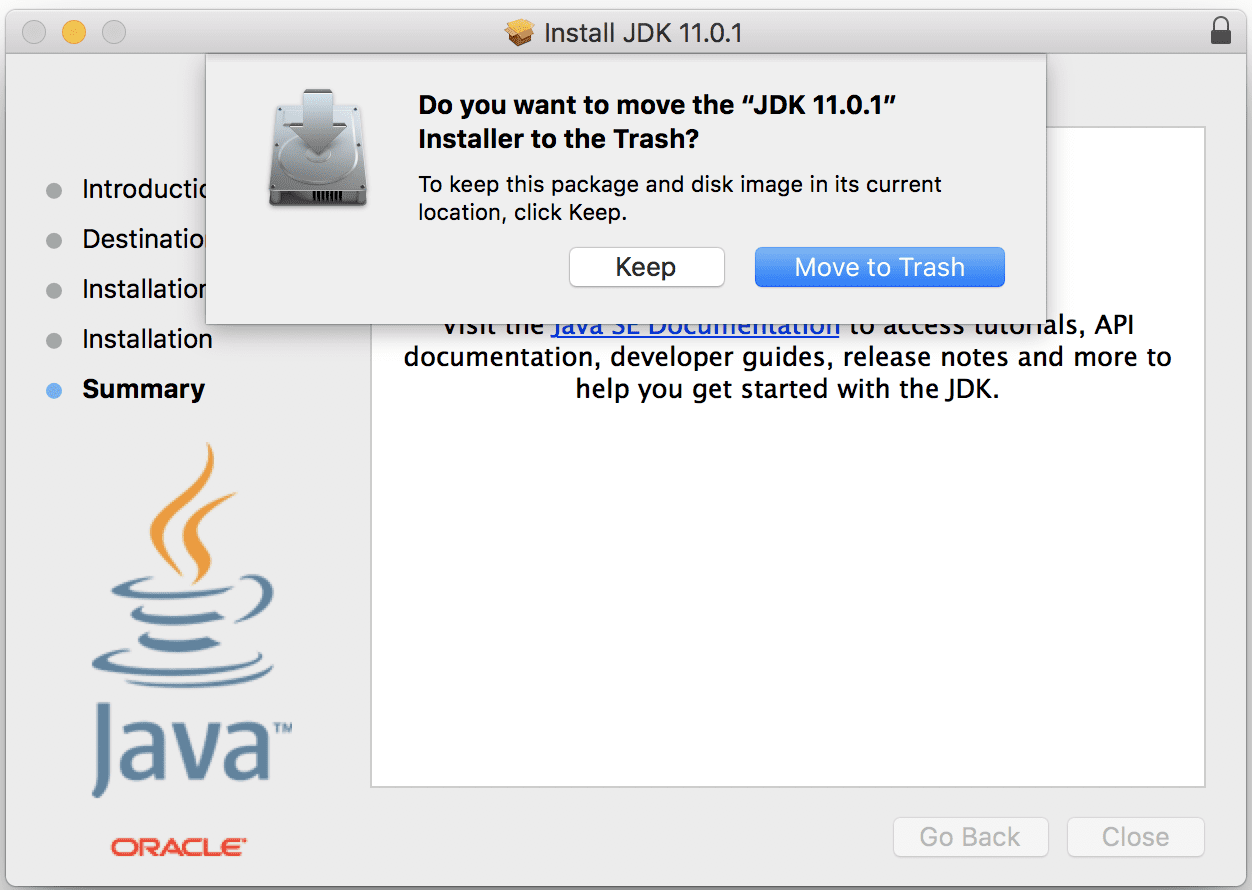
On clicking on Close you will be alerted to move the Installer file to Trash. You do not need the installer since you have already installed it in your machine. If you want to keep the installer then press Keep else press Move to Trash button to move the installer to trash.
