Table of Contents
Configure Eclipse with WebDriver
Introduction
This tutorial shows the detailed steps to set up Selenium WebDriver in Eclipse IDE. Selenium API is available in the form of jars. These jars have to be included in the java project to use the automation methods.
Pre-Requisites
Before setting up WebDriver in Eclipse, the following steps should be completed
- Java should be installed and JAVA_HOME and Path environment variables should be set.
- Eclipse IDE should be set up in the machine
- Selenium WebDriver jars should be downloaded and extracted
Configuration steps
Let us start with the configuring of WebDriver in Eclipse IDE.
- Start Eclipse by double-clicking on the Eclipse icon.

2. Select a workspace folder where all your projects will be saved and click on the Launch button.

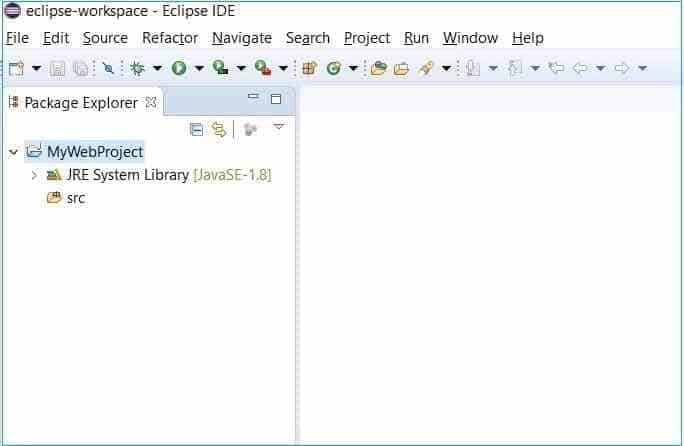
3. You will get the first screen of the Eclipse IDE. As we have not created any java projects yet, so the package explorer will be vacant.

4. The first thing we need to do is to create a java project. The project is like a folder in which we will import Selenium libraries and create java classes. For creating the project in Eclipse, go to File > New >Java Project and click on it.

5. It will open the New Java Project window where you need to provide the details for your new project. Enter the name you wish to give to your Java project against the Project name field. There is no need to change any other details on the window as of now. Click on the Finish button.

6. The new project will get created in your workspace. You can see its entry in the Package Explorer in the left side of Eclipse. Now we need to create a package in the project. A package is a place where Java classes are stored inside the project. It helps with the logical organization of Java classes.
7. Right click on the project name. Select New > Package and click. It will open the New Java Package window.

8. New Java Package is the window where we give details of the package we want to create inside the java project. Enter a package name against Name. Click on Finish Button.

9. A new package will be created inside the Java project with the name provided. It will be empty initially. We can keep our Java classes here.

10. Now to work on Selenium automation code in this project, we will include Selenium WebDriver client jars into the project. To include selenium jars, right click on the project and go to Build Path > Configure Build Path and click.

11. It will open the Properties window of the project. Go to the Libraries tab on the window. Click on Add External JARs button. It will open up a window for selecting jars from the local machine.

12. Browse to the Selenium folder which contains the libs folder and other selenium files. Select the jars in the Selenium folder. Click on the open button.

13. The selected jars will get added to the build path. Now there are more jars inside the libs folder. So click again on the Add External JARs button.

14. Browse inside the libs folder in the Selenium folder. Select all the jars and click on the open button.

15. All the selected jars will get added to the Java Build Path. Click on Apply and Close bottom at the bottom of the window. It will add these jars as a reference library in the project.

16. All the added Selenium WebDriver jars can be seen when you expand the Referenced libraries of the project in the package explorer.

17. Now let us create a java class where we can start writing the Selenium code. Right click on the package. Select New > Class. It will open the New Java Class window.

18. Here provide the details of the class we want to create. Enter class name against Name field, select the checkbox to include public static void main(String[] args) and click on Finish button.

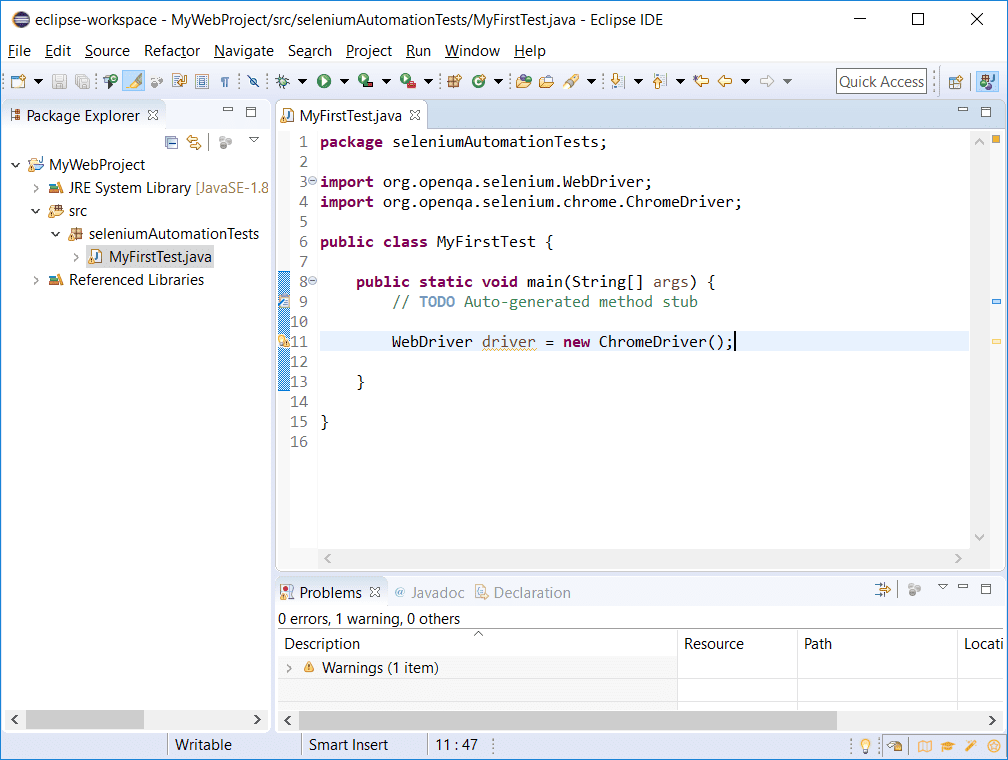
19. It will create a class inside the package. It will also open the class in the editor. So we are done with setting up a Java project with Selenium web driver client. Now we can use available Selenium classes and methods to develop automation scripts.
Conclusion
In this tutorial, we went through stepwise instructions about how to create a Java project and include Selenium WebDriver client jars to it. Now we are completely ready to automate our first Selenium Test case.